
Calibrating angle measurement tools ensures they provide accurate readings. This is crucial for precise work.
Angle measurement tools are essential in various fields, from woodworking to engineering. Proper calibration guarantees the accuracy of these tools, which is vital for producing quality work. Without accurate tools, mistakes can happen, leading to wasted time and resources. Calibration might seem complex, but with the right steps, it becomes manageable.
This guide will walk you through the process, ensuring your tools are always reliable. Accurate measurements are the foundation of any successful project. Let’s dive in and learn how to calibrate your angle measurement tools for the best results.
Preparation Steps
Hey friends, today we’re going to talk about how to calibrate angle measurement tools. The first step? Preparation. Just like any other task, getting ready is half the battle. With the right setup, you’ll ensure your tools are accurate and reliable. So, let’s dive into the Preparation Steps to make this process a breeze.
Gather Necessary Equipment
Before you begin, make sure you have all the tools you need. Think of it like cooking a recipe. You wouldn’t start cooking without all your ingredients, right? Here’s a simple checklist to get you started:
- Angle measurement tool: This could be a protractor, angle finder, or digital level.
- Reference standard: A known accurate angle, like a machinist square or a calibration block.
- Surface plate: A flat surface to ensure accuracy.
- Cleaning supplies: Cloth and alcohol to clean the surfaces.
I remember once skipping the cleaning part. Big mistake. Dust and grime can throw off your readings. So, don’t forget this step!
Ensure A Controlled Environment
Next, you need a controlled environment. Why? Because even small changes in temperature or humidity can affect your readings. Here’s what to keep in mind:
- Stable temperature: Perform calibration at room temperature. Avoid direct sunlight or drafts.
- Low humidity: Too much moisture can cause tools to expand or contract. Aim for a dry space.
- Vibration-free area: Make sure your workspace is stable. Movement can mess with your measurements.
Think of it like trying to balance on a boat. Even small waves make it hard to stay steady. Same with your tools. A stable environment means stable readings.
So, there you have it. Gather your equipment, ensure a controlled environment, and you’re set to start calibrating. Easy, right? In the next section, we’ll walk through the actual calibration steps. Stay tuned!
Understanding Tool Specifications
Calibrating angle measurement tools ensures precise readings. First, clean the tool and reference surface. Then, align the tool with a known standard, adjusting as needed to match the correct angle.
Understanding your tool’s specifications is key to accurate measurements. Each tool comes with specific guidelines. These guidelines help you use the tool properly. Following them ensures precise results.Review Manufacturer Guidelines
Always start by reviewing the manufacturer guidelines. These guidelines provide essential information. They detail how to use and maintain your tool. The instructions are straightforward. They help you avoid common mistakes.Identify Key Features
Identify the key features of your angle measurement tool. Features like scale ranges and precision levels. Understanding these features is crucial. They affect the accuracy of your measurements. Pay attention to any special functionalities. These can also impact your results. “`Zeroing The Tool
Hey friends, today we’re going to talk about Zeroing the Tool. This is a crucial step in making sure your angle measurement tools are accurate. Without zeroing, your readings can be way off. And we don’t want that, right? So, let’s dive in and make sure you know how to do it correctly. It’s easier than you think!
Check Initial Readings
First things first. You need to check the initial readings of your tool. This means seeing where the tool is at right now. Imagine you’re using a protractor or a digital angle finder. Place it on a flat surface. Look at the reading. Is it zero? If not, don’t worry. This is why we’re here.
Adjust To Zero
Next, you need to adjust the tool to zero. This means resetting it so that it shows zero when it’s on a flat surface. Here’s how you do it:
- Find the reset button or knob on your tool.
- Press or turn it until the reading shows zero.
- Double-check on a flat surface to make sure it’s accurate.
And there you go! Your tool is now zeroed. You’re ready to measure angles accurately.
Pro Tip: Always store your tool in a safe place. If it gets bumped or dropped, you might need to zero it again.
Remember, taking a few extra minutes to zero your tool can save you from a lot of headaches later. Accurate measurements are the key to any successful project. So, make it a habit to zero your tools regularly. You’ll thank yourself later!
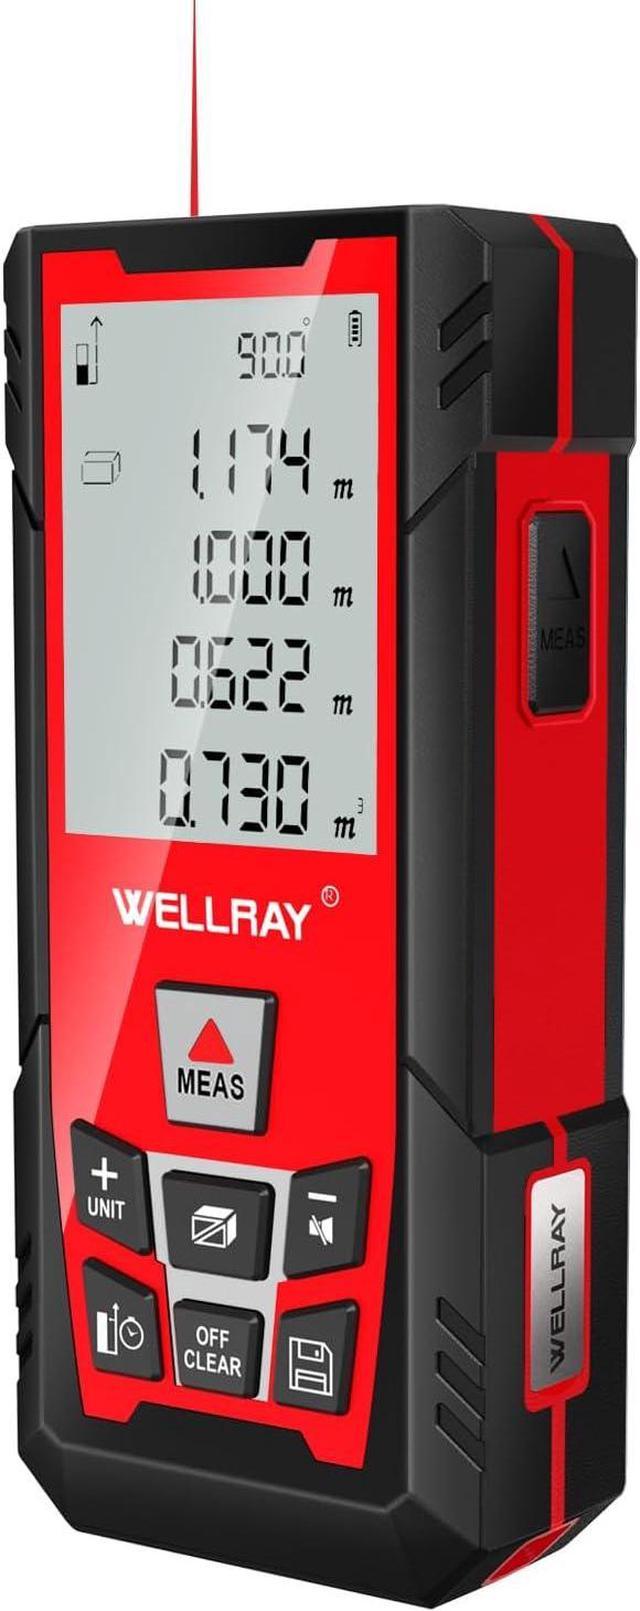
Credit: www.newegg.com
Using Reference Standards
Calibrating angle measurement tools is crucial for ensuring precise results. One effective method is using reference standards. This involves comparing your tool against a known, accurate standard. This process helps identify any discrepancies and allows for adjustments to improve accuracy.
Select Appropriate Standards
Choose reference standards that match the tool’s specifications. For example, if calibrating a protractor, use a standard with known angle values. Ensure the standards are certified and traceable to national or international standards. This guarantees their accuracy and reliability.
Align Tool With Standard
Place the angle measurement tool on a flat, stable surface. Align it with the reference standard carefully. Ensure there are no gaps or misalignments. This step is critical for accurate calibration. Read the tool’s measurement and compare it to the standard.
Adjust the tool as needed to match the reference standard. Repeat the alignment and measurement process to confirm accuracy. Proper alignment ensures the tool measures angles correctly. Regular calibration with reference standards maintains the tool’s precision over time.
Performing Calibration Checks
Regular calibration checks are crucial for maintaining the accuracy of angle measurement tools. They help ensure that your tools provide precise measurements. This section will guide you through performing calibration checks using two methods: single point calibration and multi-point calibration.
Single Point Calibration
Single point calibration is a simple method. It involves checking the tool’s accuracy at one specific angle. First, choose a reference angle that is well-known and fixed. Common reference angles include 0°, 45°, and 90°.
Next, adjust your angle measurement tool to match the reference angle. Compare the reading of your tool with the known value. If there is any difference, adjust the tool until it reads the correct value. This process ensures the tool’s accuracy at that specific point.
Multi-point Calibration
Multi-point calibration is more thorough. It involves checking the tool’s accuracy at multiple angles. This method gives a better overall picture of the tool’s performance. Start by selecting several reference angles, such as 0°, 30°, 45°, 60°, and 90°.
Measure each angle with your tool and record the readings. Compare these readings with the known reference angles. Adjust the tool as needed to correct any discrepancies. This method ensures that your tool is accurate across a range of angles.
Performing regular calibration checks using these methods helps maintain the precision of your angle measurement tools. Whether you choose single point or multi-point calibration, both are essential for accuracy.
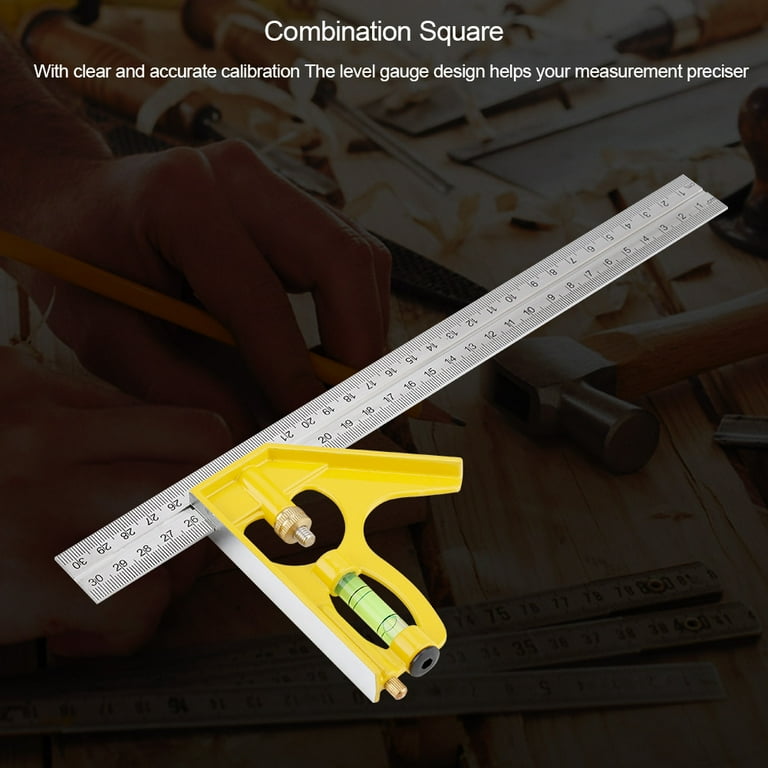
Credit: www.walmart.com
Recording Results
Recording results is a crucial step in ensuring the accuracy of your angle measurement tools. Proper documentation helps in tracking performance over time and identifying any deviations from expected values. This section will guide you on how to effectively record and analyze your measurement results.
Documenting Measurements
Always write down each measurement precisely. Use a dedicated logbook or a digital spreadsheet. Ensure that each entry includes the date, time, and specific conditions during measurement. This helps in future reviews and comparisons. Consistency in documentation is key to maintaining accurate records.
Analyzing Data For Accuracy
After documenting your measurements, analyze the data for accuracy. Compare your recorded values with known standards or reference values. Look for any patterns or inconsistencies. This helps in identifying potential calibration issues. Regular analysis ensures your tools remain accurate and reliable.
Regular Maintenance
Regular maintenance is crucial for ensuring the accuracy of angle measurement tools. Proper care extends the life of these tools and maintains their precision. This section covers the essential steps for regular maintenance.
Cleaning And Storage
Always keep your tools clean. Dust and debris can affect accuracy. Use a soft cloth to wipe down the tools after each use. Avoid using harsh chemicals. They can damage the surface and affect readings.
Store your tools in a dry, safe place. Use a case or protective cover. This prevents damage and keeps them clean. Avoid exposing them to extreme temperatures. This can cause expansion or contraction, affecting accuracy.
Scheduling Routine Calibrations
Regular calibration is key. It ensures your tools provide accurate measurements. Check the manufacturer’s guidelines for calibration schedules. Follow these guidelines strictly.
Use a trusted professional for calibration. They have the right equipment and skills. This ensures the calibration is accurate. Document each calibration. Keep a record of dates and results. This helps track the tool’s performance over time.
Troubleshooting Common Issues
Hey friends, today we’ll talk about troubleshooting common issues with angle measurement tools. Sometimes, even after calibrating, your tools might not give you the correct readings. This can be frustrating. But don’t worry. We’ll walk you through some simple fixes.
Inconsistent Readings
Ever noticed that your angle measurements keep changing? One moment it’s 45 degrees, the next it’s 46. This is what we call inconsistent readings. It’s like trying to hit a moving target.
Here are a few things to check:
- Surface Level: Make sure the surface where you’re measuring is completely flat.
- Tool Placement: Ensure your tool is properly aligned with the object you’re measuring.
- Battery Life: If you’re using a digital tool, low battery can affect accuracy. Replace the batteries regularly.
I remember once, during a woodworking project, my digital angle finder kept giving me different readings. Turned out, the batteries were dying. A quick battery change solved the problem.
Tool Wear And Tear
Your tools go through a lot. Like an old pair of shoes, they can wear out over time. This wear and tear can affect their accuracy.
Here’s what to look out for:
- Physical Damage: Check for any visible cracks or dents. Even small damages can throw off your measurements.
- Loose Parts: Ensure all screws and parts are tight. Loose parts can cause your tool to wobble.
- Calibration: Regularly calibrate your tool to maintain accuracy.
I once dropped my angle measurement tool from a table. It had a small crack, and suddenly, my readings were off. A quick trip to the hardware store for a replacement, and I was back on track.

Credit: www.amazon.com
Frequently Asked Questions
How Do You Calibrate An Angle Finder?
To calibrate an angle finder, place it on a flat surface. Adjust the device to zero. Verify accuracy using a known angle, like 90 degrees. Adjust if needed.
How To Measure Angles More Accurately?
Use a protractor or angle finder tool. Ensure it is properly calibrated. Align it carefully with the angle’s sides.
Which Tool Is Used To Check The Accuracy Of An Angle?
A protractor is the tool used to check the accuracy of an angle. It measures angles precisely.
How Do You Calibrate A Measurement Tool?
To calibrate a measurement tool, follow the manufacturer’s guidelines. Use a standard reference, adjust the tool, and verify accuracy.
Conclusion
Calibrating angle measurement tools ensures accurate results. Follow the steps regularly. Precise tools lead to better work. Consistency is key in maintaining accuracy. Proper care extends tool lifespan. Regular calibration avoids errors. Stay diligent, and your projects will benefit. Happy measuring!

Rakib Sarwar is a seasoned professional blogger, writer, and digital marketer with over 12 years of experience in freelance writing and niche website development on Upwork. In addition to his expertise in content creation and online marketing, Rakib is a registered pharmacist. Currently, he works in the IT Division of Sonali Bank PLC, where he combines his diverse skill set to excel in his career.