
Measuring ingredients accurately is crucial in low-carb baking. It ensures your recipes turn out perfectly every time.
Low-carb baking can be a bit tricky without the right measurements. Unlike regular baking, low-carb ingredients behave differently. This means precision is key. Accurate measurements help you maintain the low-carb content of your recipes. They also help achieve the desired texture and taste.
In this blog post, we’ll guide you on how to measure ingredients for low-carb baking. You’ll learn tips and techniques to get the best results. So, grab your measuring tools and let’s get started!
:max_bytes(150000):strip_icc()/7581453-ee5778d194d9419b93896ee8bee2722a.jpg)
Credit: www.allrecipes.com
Introduction To Low-carb Baking
Hey friends, today we’re diving into the world of low-carb baking. Whether you’re cutting carbs for health reasons or just curious, low-carb baking offers a delicious way to enjoy your favorite treats without the extra carbs. But how do you measure ingredients for low-carb recipes? Let’s find out together!
Benefits Of Low-carb Baking
So, why choose low-carb baking? Here are some great reasons:
- Healthier Choices: Lowering carbs can help manage blood sugar levels.
- Weight Management: It may assist in weight loss or maintenance.
- Energy Levels: Some find they have more stable energy throughout the day.
Personally, I noticed that switching to low-carb treats helped me avoid those mid-afternoon slumps. Give it a try and see how you feel!
Common Low-carb Ingredients
When it comes to low-carb baking, the ingredients you use are key. Here are some common ones:
| Ingredient | Description |
|---|---|
| Almond Flour | Made from ground almonds, it’s a great low-carb substitute for wheat flour. |
| Coconut Flour | Another alternative flour, it’s high in fiber and low in carbs. |
| Stevia | A natural sweetener that’s much sweeter than sugar, so you need less of it. |
| Erythritol | A sugar alcohol that provides sweetness without the carbs. |
When I first started low-carb baking, I was amazed at how versatile these ingredients were. They opened up a whole new world of tasty treats!
Essential Baking Tools
Essential baking tools can make a difference in your low-carb baking. Accurate measurements ensure your recipes turn out perfectly each time. In this section, we will explore the must-have tools for measuring ingredients. These tools will help you achieve precise measurements, leading to consistent results.
Measuring Cups And Spoons
Measuring cups and spoons are fundamental tools for any baker. They are available in sets, which include different sizes. Use these tools to measure both dry and liquid ingredients. Dry measuring cups are great for almond flour and coconut flour. Liquid measuring cups work best for oils and syrups. Remember to level off dry ingredients with a knife for accuracy.
Kitchen Scales
A kitchen scale provides the most precise measurements. It is essential for low-carb baking. Weighing ingredients ensures consistency and accuracy. This tool is especially useful for flours and sweeteners. Place your bowl on the scale, zero it out, and add your ingredient. This method reduces the risk of measurement errors.
Choosing The Right Flour Alternatives
Choosing the right flour alternatives is key for successful low-carb baking. Traditional flours often contain a lot of carbs. Switching to low-carb options can make a big difference. Let’s explore two popular choices for low-carb baking: almond flour and coconut flour.
Almond Flour
Almond flour is a popular choice for low-carb baking. It’s made from finely ground almonds. This flour is low in carbs and high in protein. It has a slightly sweet, nutty flavor. Almond flour can be used in a one-to-one ratio with wheat flour in many recipes. It’s great for cookies, muffins, and bread. Always store almond flour in a cool, dry place. It can go bad quickly due to its high oil content.
Coconut Flour
Coconut flour is another excellent low-carb option. It’s made from dried coconut meat. This flour is very absorbent and requires more liquid. You can’t substitute coconut flour one-to-one with other flours. Usually, you need only a small amount. For every 1 cup of wheat flour, use about 1/4 cup of coconut flour. Coconut flour is high in fiber and gives a unique texture. It’s perfect for cakes, pancakes, and other baked goods. Keep coconut flour in an airtight container to maintain freshness.
Measuring Liquid Ingredients
Measuring ingredients accurately is key in low-carb baking. This holds true for liquid ingredients, which can significantly impact the texture and taste of your baked goods. Understanding the right tools and techniques ensures your low-carb recipes turn out perfect.
Using Liquid Measuring Cups
Liquid measuring cups are essential for precise measurements. Always use a transparent cup with markings. These cups allow you to see the level of the liquid. Place the cup on a flat surface. Bend down so your eyes are level with the markings. Pour slowly until you reach the desired measurement.
Avoid using dry measuring cups for liquids. They are not as accurate. The liquid might spill, leading to incorrect amounts. This can affect your baking results.
Converting Measurements
Converting measurements is sometimes necessary in baking. Recipes may use different units like milliliters, cups, or ounces. Understanding conversions helps you follow any recipe accurately. For example, 1 cup equals 240 milliliters. Knowing this helps in using the right amount of liquid.
Keep a conversion chart handy. This makes it easy to switch between units. Double-check your conversions to avoid mistakes. Precise measurements are important in low-carb baking.
Measuring Dry Ingredients
Hey friends, today we’re diving into the art of measuring dry ingredients for low-carb baking. Trust me, getting this right can make a world of difference in your recipes. We all know how important it is to follow a recipe accurately, but when it comes to low-carb baking, precision is even more crucial. Let’s break it down step-by-step, starting with the basics of measuring dry ingredients.
Scooping Vs. Spooning
First, let’s talk about two common methods: scooping and spooning. You might wonder, what’s the big deal? Well, these two methods can yield very different results.
Scooping: This involves dipping your measuring cup directly into the ingredient, like flour or almond flour, and then leveling it off. It’s quick, but not always accurate. Scooping can pack more ingredient into the cup, leading to a denser product.
Spooning: This method is a bit more time-consuming but more accurate. You spoon the ingredient into the measuring cup until it’s overflowing, then level it off. This prevents packing and gives you a lighter, more precise measure.
Leveling Techniques
Now that we’ve covered scooping and spooning, let’s move on to leveling. Leveling ensures you have the exact amount called for in the recipe, which is crucial in low-carb baking.
Here are some easy techniques to help you level your ingredients perfectly:
- Use a straight edge: After filling your measuring cup, use the back of a knife or a flat spatula to level off the top. Just swipe it across the cup to remove the excess.
- Tap and shake: Lightly tap the side of the cup and shake it gently to settle the ingredient, then level it off. This works well for ingredients like cocoa powder or almond flour.
- Don’t pack: Avoid pressing down the ingredient to fit more into the cup. This can throw off the measurement and affect the texture of your baked goods.
Remember, accuracy is key. Low-carb baking is like a science experiment. Every gram counts!
So there you have it. The basics of measuring dry ingredients. Whether you’re a scooper or a spooner, just make sure to level off your ingredients to get the best results in your low-carb baking adventures. Happy baking!
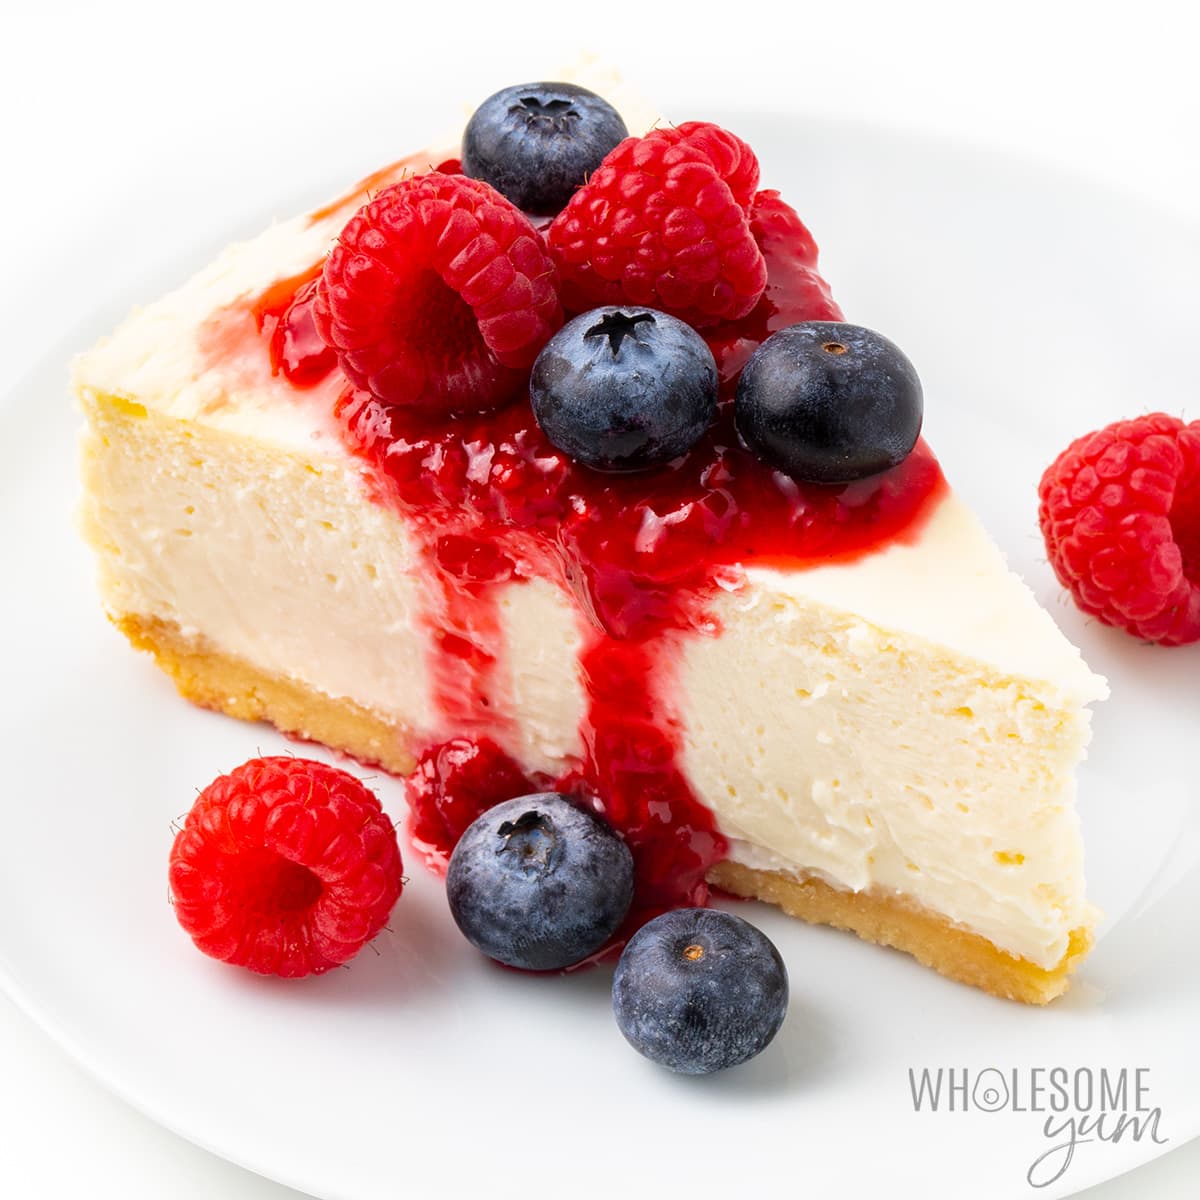
Credit: www.wholesomeyum.com
Sweetener Measurements
Hey friends, today we’re diving into the sweet side of low-carb baking. One of the trickiest parts of baking without sugar is measuring sweeteners correctly. If you get this wrong, your desserts can taste too sweet or not sweet enough. But don’t worry. We’re here to help you measure sweeteners perfectly every time. We’ll break it down into two main types: granulated sweeteners and liquid sweeteners.
Granulated Sweeteners
Granulated sweeteners are like regular sugar but without the carbs. They come in different types, like erythritol, xylitol, and monk fruit sweetener. Measuring them is simple if you follow these steps:
- Use a dry measuring cup. This is important for accuracy.
- Fill the cup to the top. Make sure it’s level with the rim. Use a knife to scrape off the extra.
- Don’t pack it down. Granulated sweeteners should be light and airy in the cup.
Here’s a quick comparison table for some common granulated sweeteners:
| Sweetener | Sweetness Level (compared to sugar) |
|---|---|
| Erythritol | 70% |
| Xylitol | 100% |
| Monk Fruit | 150-200% |
Remember, these sweeteners don’t behave exactly like sugar in recipes. For example, erythritol can have a cooling effect. So, always taste your batter before baking to adjust as needed.
Liquid Sweeteners
Liquid sweeteners are a bit different. They include options like stevia drops and liquid monk fruit extract. Here’s how to measure them:
- Use a dropper or small measuring spoon. These sweeteners are very concentrated.
- Add a little at a time. It’s easy to overdo it.
- Mix well. Make sure the sweetener is evenly distributed in your batter.
Here’s an example from my own kitchen adventures. I once added too many stevia drops to a batch of cookies. They turned out bitter! The good news? I learned to start with just a few drops and add more if needed.
Here’s a quick tip: If a recipe calls for a liquid sweetener but you only have granulated, you can dissolve the granulated sweetener in a bit of water. This can help you get the right sweetness and texture.
Measuring sweeteners for low-carb baking doesn’t have to be hard. Just follow these simple steps, and you’ll be on your way to delicious, low-carb treats in no time. Happy baking!
Adjusting For High-altitude Baking
Hey friends, today I’m going to share some tips on how to measure ingredients for low-carb baking at high altitudes. High-altitude baking can be tricky. The air is thinner, which affects how ingredients react during baking. But don’t worry, I’ve got you covered. Let’s dive into the adjustments you need to make for successful high-altitude low-carb baking.
Ingredient Adjustments
When baking at high altitudes, you need to tweak your ingredients a bit. Here’s what you need to know:
- Flour: Use less flour. Try reducing the amount by 1-2 tablespoons per cup. This helps because the air is drier and flour can absorb too much moisture.
- Sugar: Decrease sugar by 1-2 tablespoons per cup. This prevents your baked goods from becoming too sweet and helps them rise properly.
- Liquids: Add more liquid, about 1-2 extra tablespoons per cup. This compensates for the faster evaporation that occurs at higher altitudes.
- Leavening Agents: Reduce baking powder or baking soda by 1/4 teaspoon per teaspoon. This stops your baked goods from over-rising and then collapsing.
- Eggs: Sometimes, adding an extra egg can provide more structure. This helps your baked goods hold their shape.
Baking Time Modifications
High-altitude baking also affects the baking time. Here’s how to adjust:
- Temperature: Increase the oven temperature by 25 degrees Fahrenheit. This helps set the structure of your baked goods before they over-expand.
- Baking Time: Decrease the baking time by about 5-8 minutes. Foods bake faster at higher altitudes, so keep an eye on them.
- Check Doneness: Always check for doneness a few minutes before the recommended time. Use a toothpick to see if it comes out clean.
The good news? With these simple adjustments, you can bake delicious low-carb treats even at high altitudes. I remember the first time I baked at my grandma’s house in the mountains. My cookies spread out like pancakes! But after a few tweaks, they turned out perfect. So, don’t get discouraged if it doesn’t work out the first time. Keep experimenting, and soon you’ll be a high-altitude baking pro!
Troubleshooting Common Issues
Hey friends, today we’re diving into the world of low-carb baking. It’s fun, but sometimes things don’t go as planned. Have you ever baked something that just didn’t turn out right? Maybe it was too dry or lacked flavor? Don’t worry; it happens to all of us. In this section, we’ll talk about troubleshooting common issues in low-carb baking. Let’s make sure your next bake is perfect!
Texture Problems
One of the biggest challenges in low-carb baking is getting the texture right. Sometimes your baked goods might turn out too dry, too dense, or even too crumbly. Here are a few tips to fix those texture issues:
- Dry texture: Add more moisture. You can use ingredients like unsweetened applesauce, Greek yogurt, or even a bit more butter.
- Dense texture: Try adding more baking powder or baking soda. This helps your bake rise better.
- Crumbly texture: Use xanthan gum or psyllium husk. These ingredients help bind everything together.
When I first tried low-carb baking, my cookies were always too dry. I discovered that adding a bit of Greek yogurt made a huge difference. So, don’t give up! Small tweaks can lead to big improvements.
Flavor Adjustments
Another common issue is flavor. Sometimes low-carb baked goods can taste bland or just off. Here are some simple ways to make your treats taste better:
- Bland flavor: Increase the amount of vanilla extract, cinnamon, or other spices. These can add a lot of flavor without extra carbs.
- Off taste: Check your sweeteners. Some low-carb sweeteners can have an aftertaste. Try different ones until you find what you like.
- Missing sweetness: Add a bit more sweetener if needed. But be careful not to overdo it.
I once made a low-carb cake that tasted just… weird. Turns out, the sweetener I used wasn’t great. I switched to a different one, and it made all the difference. So, experiment with flavors until you get it just right.
And there you have it! Some simple tips to fix common issues in low-carb baking. Remember, practice makes perfect. Keep trying, and soon you’ll be baking like a pro. Happy baking, friends!
Final Tips For Successful Baking
Hey friends, are you ready to take your low-carb baking to the next level? Great! Let’s dive into some final tips that can make all the difference. These tips will help you measure your ingredients accurately and bake successfully every time. Let’s get started!
Recipe Testing
Testing your recipe is crucial. It’s like a dress rehearsal before the big show. Here are some steps to keep in mind:
- Start small: Begin by baking a small batch. This helps you avoid wasting ingredients if something goes wrong.
- Take notes: Write down each step and ingredient you use. This will help you pinpoint what works and what doesn’t.
- Adjust accordingly: If the texture or taste isn’t right, tweak the recipe. Maybe a little more almond flour or a bit less sweetener.
Keeping A Baking Journal
Keeping a baking journal might sound old-school, but it’s super helpful. I recently started doing this and it’s a game changer. Here’s how you can do it:
- Record your recipes: Write down every recipe you try, including any changes you make.
- Note the results: Record how the baked goods turned out. Were they too dry? Too sweet? Just right?
- Include tips: Jot down any tips or tricks you discover along the way. This could be anything from the best brand of coconut flour to the ideal oven temperature.
This journal becomes your personal baking bible. Over time, it will be filled with invaluable insights.
And there you have it! By testing your recipes and keeping a baking journal, you can ensure successful low-carb baking every time. Remember, baking is as much about experimenting as it is about following a recipe. So don’t be afraid to try new things and learn from each bake. Happy baking!
Credit: chocolatecoveredkatie.com
Frequently Asked Questions
What Is The Best Way To Measure Ingredients When Baking?
Use a kitchen scale for accuracy. Measure dry ingredients with measuring cups or spoons. Level off with a knife.
How Do You Measure Low Carb?
Measure low carb by tracking grams of carbohydrates consumed daily. Aim for 20-50 grams for a low-carb diet. Use nutrition labels and apps to monitor intake.
How To Measure 3 Oz Of Dry Ingredients?
Use a kitchen scale to measure 3 oz of dry ingredients. Place a bowl on the scale, tare it, and add ingredients until the scale reads 3 oz.
What Is The Lowest Carb Flour For Baking?
Almond flour is the lowest carb flour for baking. It is keto-friendly, gluten-free, and high in healthy fats.
Conclusion
Precision is crucial in low-carb baking. Always measure ingredients accurately. Use digital scales for best results. Choose the right tools like measuring cups and spoons. Consistency ensures better taste and texture in your recipes. Practice makes perfect. Keep experimenting and adjusting.
Enjoy baking delicious low-carb treats. Remember, small changes make a big difference. Happy baking!

Rakib Sarwar is a seasoned professional blogger, writer, and digital marketer with over 12 years of experience in freelance writing and niche website development on Upwork. In addition to his expertise in content creation and online marketing, Rakib is a registered pharmacist. Currently, he works in the IT Division of Sonali Bank PLC, where he combines his diverse skill set to excel in his career.